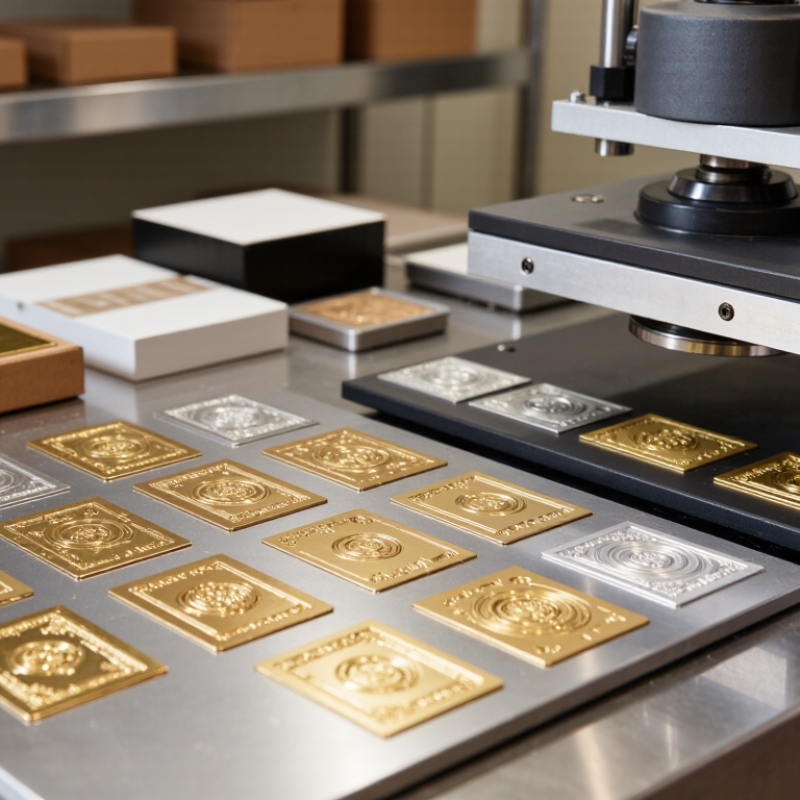






How to Choose the Right Hot Stamping Plate?

Packaging is a competitive surface: a crisp foil mark can sharpen a logo, while a weak impression can expose every flaw. Smithers’ report, The Future of Global Packaging to 2028, projected the global packaging market would exceed $1.2 trillion by 2028. That forecast describes packaging broadly, not hot stamping alone. Still, it shows why finish quality matters across a large, evolving market.

Choosing a Hot Stamping Plate means balancing the job, not chasing a single “best” material. Start with the substrate, artwork detail, production volume, press setup, and required heat. Fine lettering on a coated carton may need a different plate strategy than a deep embossed mark on a rigid package. Short runs may favor lower-cost options; longer runs or demanding relief work often call for more durable tooling. Confirm compatibility with your plate maker and press specifications before production. Small tests help.

There is no universal winner. That is easy to forget. A plate that performs beautifully on one stock may produce uneven transfer on another. Ask suppliers about tolerances, expected service life, and sample impressions, then compare results under real production conditions. Industry forecasts provide useful context, but they cannot replace a press trial. The right choice is the one that delivers consistent detail, clean release, and acceptable cost for your specific job.

How to Choose the Right Hot Stamping Plate?

Define the Product and Production Requirements

Define the product before comparing plate materials. Is the mark a fine line, small type, or a broad solid area? Note the substrate, surface coating, thickness, and any grain or texture. These affect heat transfer and impression quality. A detailed logo on coated cartonboard may need a different plate and test setup than a large mark on uncoated stock. Brass can suit detailed work and longer runs; magnesium may be practical for shorter runs, depending on the job and press.

Production volume matters, but so do speed, registration accuracy, and changeover time. Smithers’ 2023 report, The Future of Global Packaging to 2028, forecast the global packaging market at roughly $1.2 trillion by 2028.

That broad forecast signals scale, not a plate specification; your actual run length and reject limits should guide the choice.

Ask the supplier to review artwork, minimum line widths, and reversed text. Then test on the real substrate. Check edge sharpness, foil release, and consistency across several impressions. Small samples can mislead. I would not trust a perfect first sheet alone. Temperature, pressure, and dwell time interact, so record the tested settings and inspect again at production speed.

Compare Hot Stamping Plate Materials and Types

Choosing a hot stamping plate begins with the material, run length, and detail in your artwork. Magnesium is lightweight and quick to machine, making it practical for short runs and fine, shallow details. It is less resistant to wear than harder metals. Brass costs more to machine, but it holds detail well and often suits repeated production. Copper transfers heat efficiently, though its softer surface can wear faster under demanding conditions. Steel can suit long runs, but machining time and press compatibility matter.

The trade-off is not always neat. Heat changes everything. A plate that looks suitable on paper may behave differently with your stock, foil, and press settings. Test a small sample before committing to a full run.

Plate types matter, too. Flat plates are common for sheet-fed work and straightforward layouts. Rotary plates support continuous production on compatible presses, but require precise alignment. Single-level plates work for simple graphics; engraved or multi-level designs can create varied depth and texture. Combination plates bring different effects together, but setup becomes less forgiving. Check plate thickness, mounting method, and heated-area size against the machine specifications. A little uncertainty remains until the plate meets the actual material.

Assess Plate Thickness, Size, and Engraving Detail

How to Choose the Right Hot Stamping Plate?

Assess Plate Thickness, Size, and Engraving Detail

Choosing a hot stamping plate starts with machine limits, not guesswork. Check the press’s specified plate thickness and mounting method before ordering. Thickness affects rigidity and can influence how evenly heat reaches the working face. A plate that is too thin may flex under pressure; one that is too thick may not fit properly or heat as expected. Follow the equipment specifications. There is no universal sweet spot.

Match plate size to the impression, not just the artwork’s outer dimensions. Leave clearance for mounting and registration, plus room for a small test where practical. Oversized plates can take longer to warm and may use more foil; undersized plates can limit the layout. Measure the usable bed, then confirm the dimensions against the holder. A quick sketch helps. It can still miss something.

Engraving detail should suit both the design and the material being stamped. Tiny text, narrow gaps, and shallow lines may fill in or transfer inconsistently, especially on textured stock. Ask the plate maker which line widths and engraving depths suit the chosen plate material. Provide a clean, correctly scaled file, then proof it at working temperature and pressure. If fine edges look soft, revise the artwork or engraving depth rather than simply increasing pressure. I would recheck that assumption; pressure is not always the culprit.

Match the Plate to the Machine and Stamping Conditions

A hot stamping plate must fit the machine before its material or price becomes relevant. Check the plate dimensions, mounting method, and working area against the press. A plate that sits unevenly can produce weak impressions on one side and excess pressure on the other. Fit comes first.

Next, match the plate material to the job and expected production volume. Magnesium plates can suit shorter runs and fine details, while brass or copper may be considered for longer runs or repeated use. Steel can be useful in demanding applications, but the machine must provide enough pressure and heat. These are starting points, not guarantees. Fine text, broad solid areas, and delicate substrates can change the choice.

Stamping conditions matter just as much. Confirm the press can hold stable temperature and pressure across the plate, then consider the foil, substrate, and image size together. A small test on the actual material can reveal skipped details, scorching, or uneven transfer. Keep notes on temperature, dwell time, and pressure; small adjustments often solve problems that look like a plate defect. Production tests are not perfect predictors, though. Material batches and setup changes can shift the result. Small details matter. A plate that works well on paper may still need adjustment on a textured cover or a larger press bed.

Verify Plate Quality Through Testing and Inspection

How to Choose the Right Hot Stamping Plate?
Verify Plate Quality Through Testing and Inspection

A reliable plate should transfer fine lines evenly, without gaps, blurred edges, or shallow areas. Inspect the surface under magnification for pits, burrs, and uneven engraving. Measure flatness with a dial indicator, and check engraving depth with a profilometer against your job specification. There is no single tolerance suitable for every design.

Test it under production-like conditions. Use the intended foil, substrate, temperature, pressure, and dwell time. Inspect both solid areas and fine details, then repeat the test to check consistency. ASM Handbook material-property data places many aluminum alloys near 23 µm/m·°C for thermal expansion, though the exact value varies by alloy. A plate’s dimensions can shift as it heats, so a room-temperature inspection alone may miss a problem. ASTM E18 provides a standardized method for measuring material hardness; use it when hardness is part of your plate specification.

Tips: Keep a simple inspection log. Record plate temperature, settings, and visible defects beside each test impression. A clean first impression can still mislead. Check again after several cycles. Sometimes, the weak point is setup—not the plate. That distinction deserves a second look.

How to Choose the Right Hot Stamping Plate? — Verify Plate Quality Through Testing and Inspection

Compare sample inspection readings with their specified maximum limits. Lower percentages indicate more remaining tolerance; readings at or below 100% meet the example limits.

Illustrative sample data only. Set acceptance limits from the plate drawing, material specification, and intended production process. Confirm results with calibrated instruments and documented inspection methods.

Cart Summary

Subtotal: $0